Ok, so a friend of mine tagged me in a post about yarn bowls on facebook the other day. I decided I would try to make one myself. The next day I went to the crafts store Panduro to buy some clay:

About half a package is enough for one bowl.
Start by rolling out the clay like you would a pizza dough, just not as thin. Then, cheat a bit by placing it over a plastic or glass bowl, to help you with the shape. I tried freebasing one first, looked like something a five year old with free reins made... Try to make it as smooth and even as possible, and cut off excess clay to make the rim:

Cut out the swirly part(or which ever shape you'd like), but make sure it won't be too small/thin when it dries or it might be fragile and snap:

Get some water on your fingers to smooth out the surface as much as you can, this will save you some work later on:

Roll out a thin piece of clay and place it on the bottom of the bowl(press it on to the bowl so it sticks, of course), this is to prevent it from being wobbly. Like the wannabe artist I am, I added my initials and the year at the bottom :)

Now here comes the dreary part: drying time is two days! Since I was not familiar with this clay I didn't want to put it in or close to an oven, fearing it would crack or something.
When it is dry, pry it carefully off of the "cheat bowl". It will have an uneven finish and have marks after some pesky air bubbles(I have to find a way to avoid those), and have rough edges. Solution: very fine sand paper. Go over the entire bowl, inside and out with the sandpaper, to make it more even and smooth. Cut a small, thin piece to work the swirl better. Careful, careful.

All the dust that comes from the sandpaper treatment I used to make a paste to fill in dents and crevices, all I did was to add some water! Thankfully, the drying of this only took two hours or so. Then I went over the fillings with sandpaper too.


FINALLY, it was time to paint it! After the paint, I added a coat of varnish to make the colors more durable.
Ta-daa!


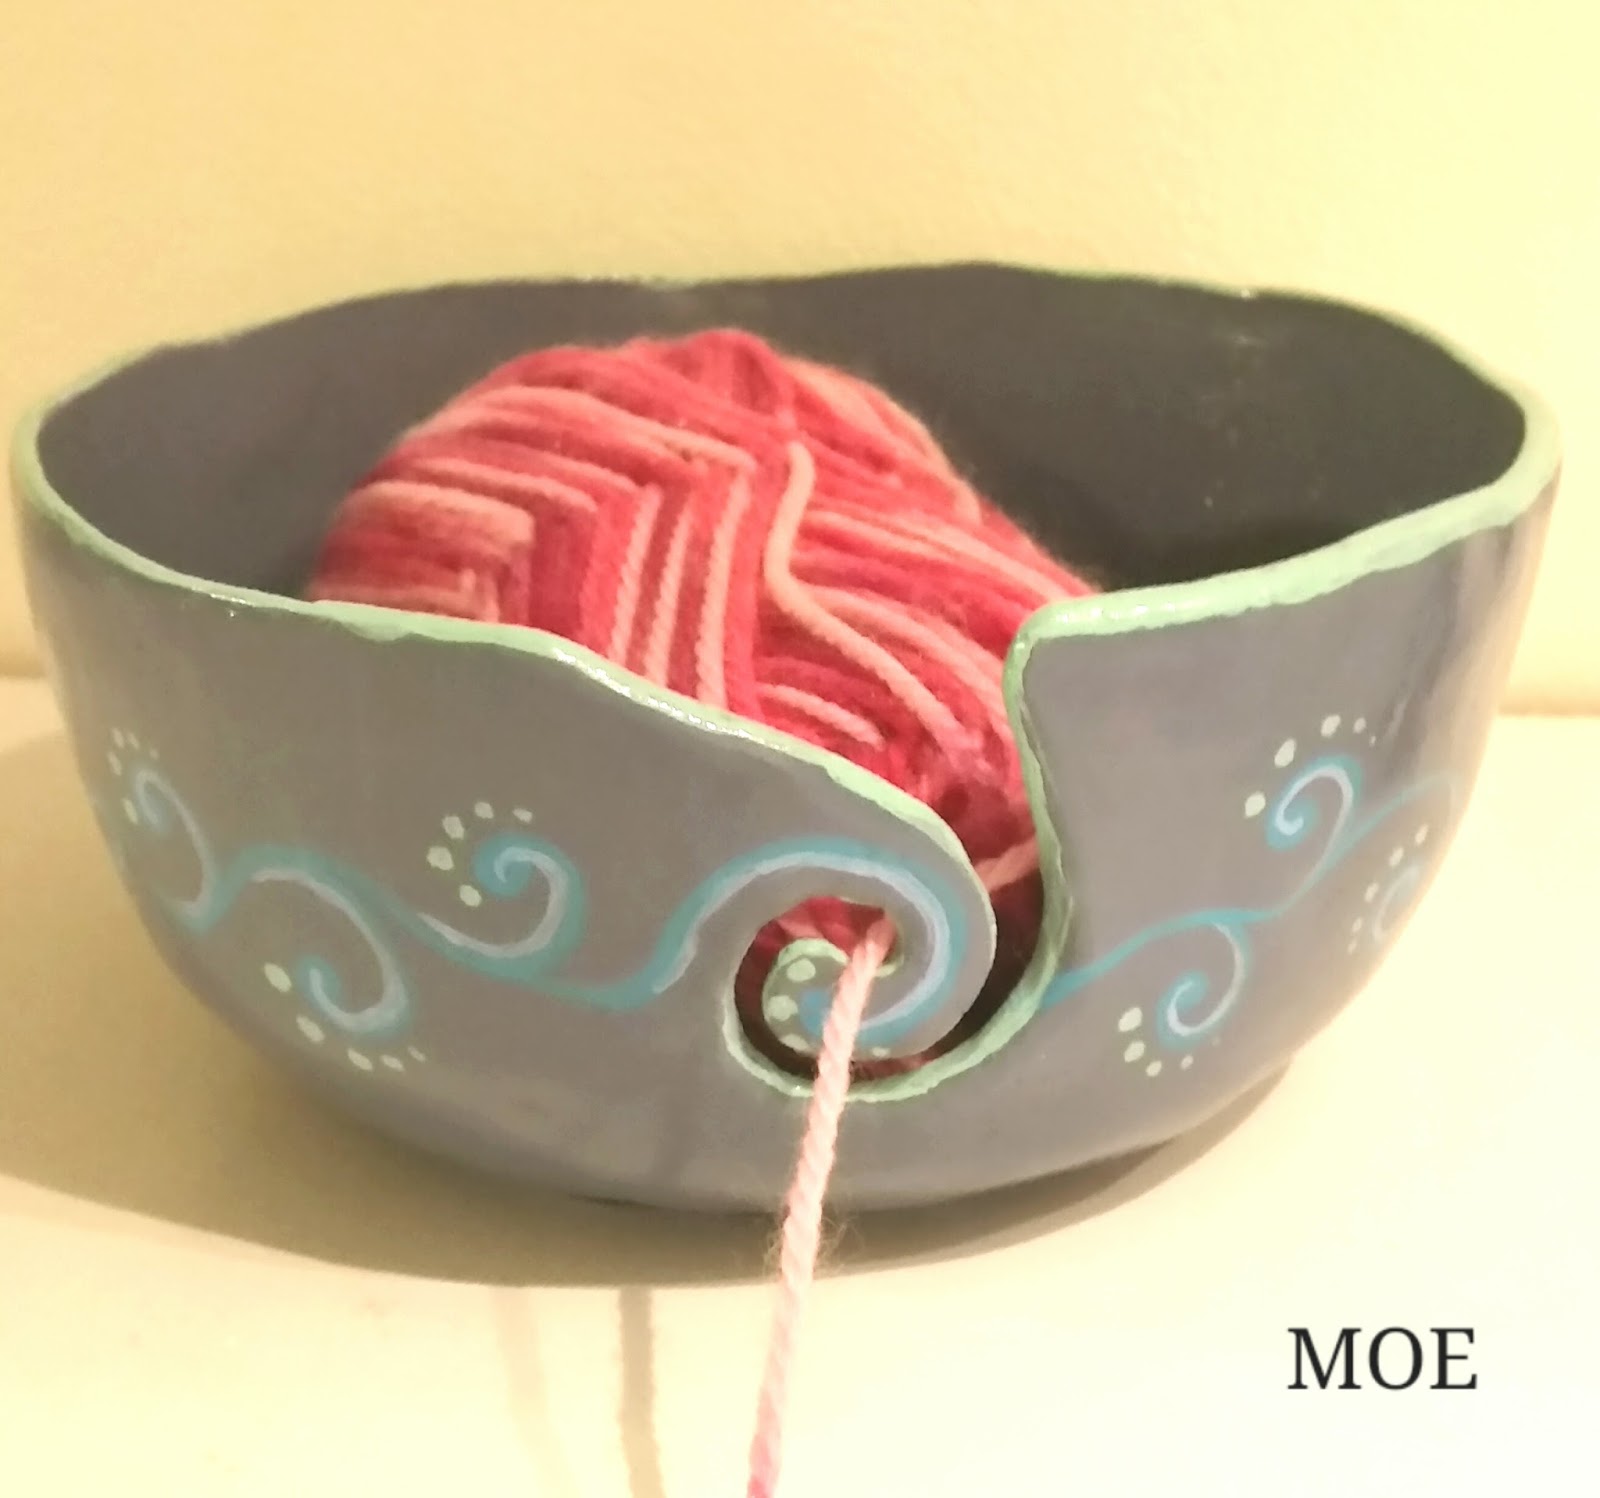
It is far from perfect, but I think it'll serve its purpose. At this time, it is gift wrapped, ready to be given to my mother for Christmas. It's like I'm ten years old again, giving away self made pottery as presents! ;D
MERRY CHRISTMAS!
No comments:
Post a Comment